In this article, you can get to know about adding GitHub code to your Blogger articles. Remember, this is very easy.
1: Go to your GitHub and select ‘New gist”
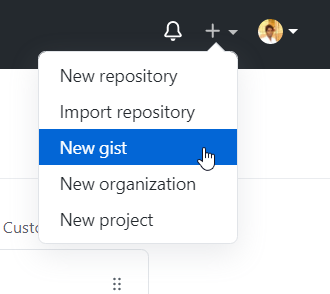 |
| Image by Author |

2: You will see this screen.
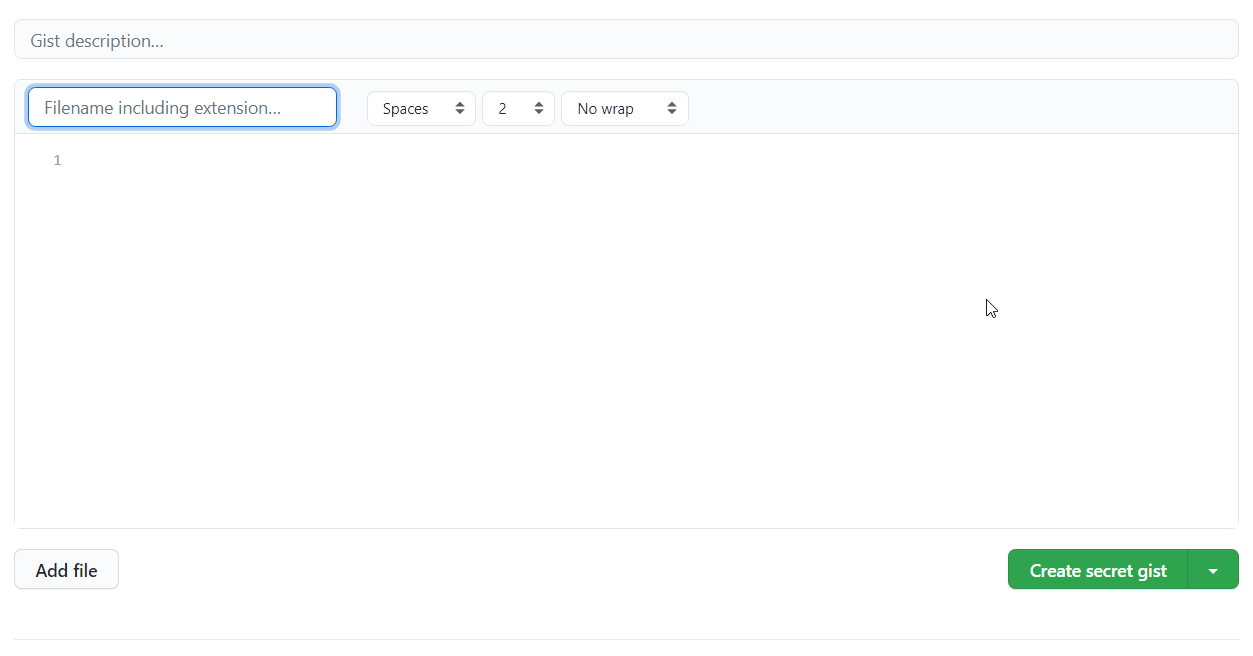 |
| Image by Author |

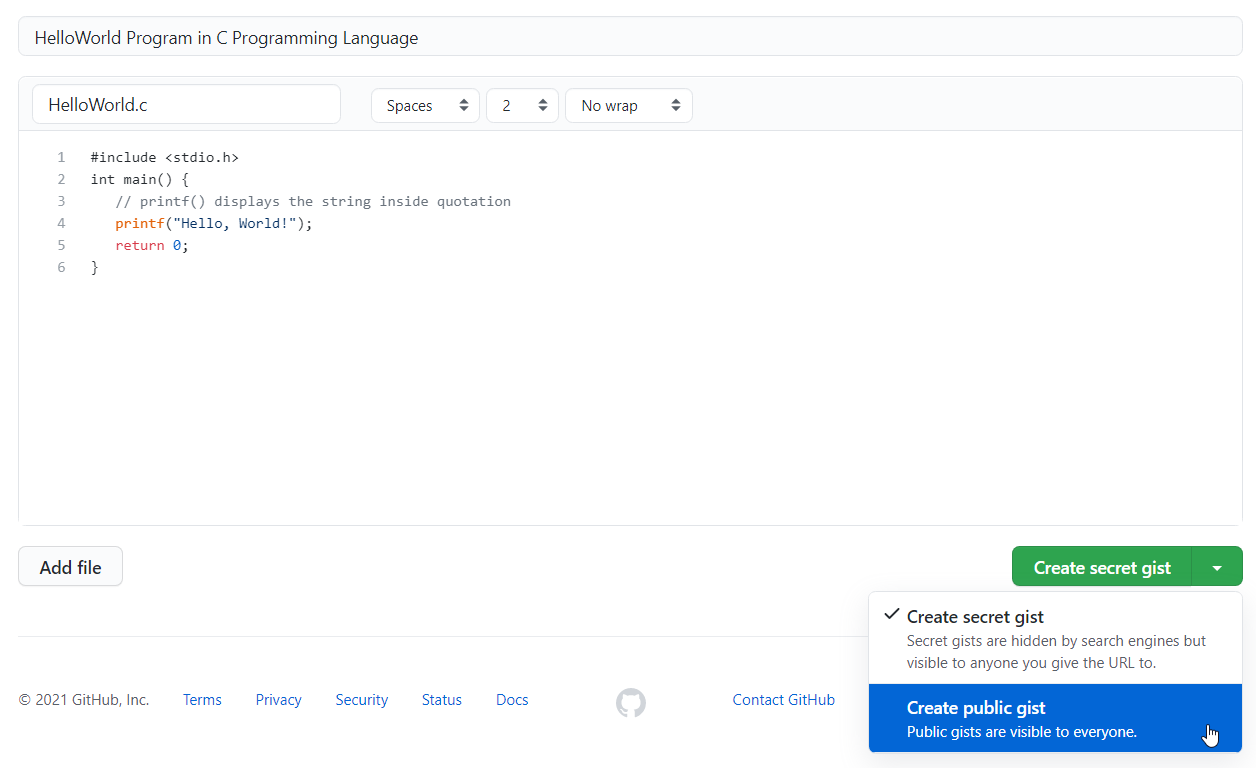
3: Fill in the fields as you need. Set it as a Public gist and Create it.
 |

4: After creating, select “Share” and get the link of the gist created.
 |
5: Go to your article editing workplace, select HTML view, and paste the copied link at the correct place.
Here I'm naming the place where I've to place the GitHub page as "myplace" to locate the exact location in HTML view easily.

Replace the copied link and come back to the Compose view.
Check the Preview and you can see you've successfully made it.
You can add GitHub code to Medium as well. Check this article for that.
Hope this can help! Share your thoughts too.
Comments
Post a Comment